
Key Signs and Maintenance Tips
Water heaters are one of those household appliances that often get overlooked—until, of course, they start acting up. You might be in the middle of a relaxing shower when suddenly the water turns cold, or you discover a mysterious puddle near your basement.
Keeping an eye on your water heater is essential to ensure it runs smoothly and to catch small problems before they blow up into big headaches. In this article, we’ll explore some straightforward ways to check for damage and share handy maintenance tips that can save you both time and money in the long run.
To check your water heater for damage, begin by inspecting the unit for any signs of leaks or corrosion around the base, as these can indicate potential failure. Additionally, look for discoloration in the hot water, which may suggest sediment buildup or internal damage, and listen for strange noises, such as popping or rumbling, that typically signal sediment accumulation affecting heating efficiency. Regular maintenance, including flushing the tank annually, can help prevent these issues.
Identifying Signs of Water Heater Damage
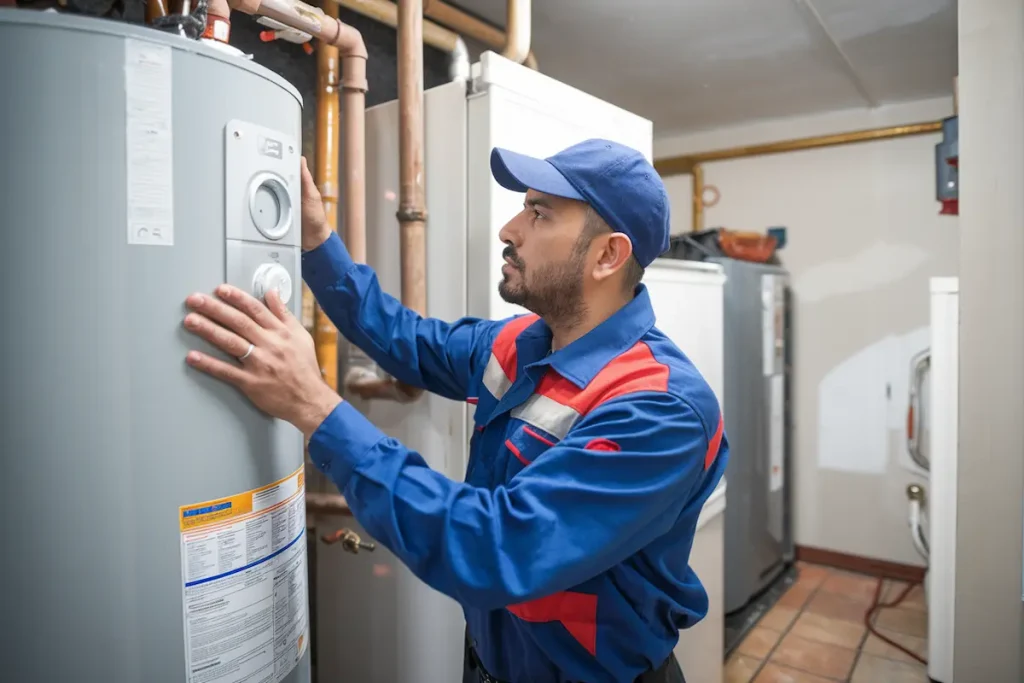
One of the best things you can do as a homeowner is to perform regular checks on your water heater. By watching out for potential warning signs, you can intervene before small cracks turn into major floods in your basement.
To start, leaks around the tank are often the most telling sign that something isn’t right. If you notice puddles or moisture near the base of your heater, this could mean a leaking tank or a failing pressure relief valve. Catching these leaks early can save you from costly repairs and alleviate the risk of significant water damage.
Next up is discolored water flowing from your hot tap. If you suddenly notice rusty or brown water, it’s a clear indicator that your tank may be corroding from the inside. This should not be taken lightly, as it may suggest that your water heater has passed its prime and needs to be replaced soon. Rust can also contaminate your drinking water, which is another reason not to ignore this symptom.
Sometimes it’s not until we see discolored water that we realize something’s seriously wrong with our water heater.
Keeping a regular check on these initial warning signs does not have to be complicated or time-consuming; in fact, it can be part of your regular household routine.
Another critical sign involves those annoying strange noises coming from the unit. If you hear popping or rumbling sounds, it usually indicates sediment buildup at the bottom of the tank, which may affect heating efficiency. Ignoring these noises could lead to overheating, putting your entire system at risk.
To put this in perspective, one homeowner I spoke to said the rumbling sound went on for weeks—until water started gushing out from under her unit. A little noise could indeed be a shearing call for immediate attention.
Here are some noteworthy reminders: Always maintain vigilance by regularly checking for leaks, discoloration, and unusual sounds from your water heater. A few preventive actions today could save you from headaches tomorrow and ensure that your water heating system functions optimally throughout its lifespan. Don’t wait until it’s too late!
Following these observations can offer vital insight and prompt necessary actions; let us now shift our focus to exploring what might be causing these issues within your system.
Common Causes of Water Heater Issues
The age of the unit plays a significant role in determining how often it will experience problems. Most traditional water heaters have an average lifespan of 10-15 years, and after this period, the likelihood of failure increases significantly. This is particularly important to consider because many homeowners only begin to notice issues when it’s too late, often leading to costly emergency repairs or replacements. By keeping track of your water heater’s age, you can proactively schedule maintenance checks or replacements before any serious damage occurs.
But age alone isn’t the sole culprit; there are other factors at play that can stress your water heater.
One major concern is sediment buildup. Over time, minerals in the water settle at the bottom of the tank, forming a thick layer that acts as an insulating barrier between the burner and the water above it. This buildup not only reduces heating efficiency but can also lead to overheating if left unchecked. In areas with hard water, where mineral content is higher, this issue becomes even more prevalent, requiring frequent flushing of the tank to prevent any long-term damage.
Following sediment concerns, we must address another silent threat: corrosion.
Corrosion inside the water heater tank is an inevitable issue once the sacrificial anode rod deteriorates. This rod is designed to corrode away first in order to protect the steel tank from rusting. However, after about 3-5 years, it becomes ineffective, and a rusted tank can spring leaks that might lead to significant water damage throughout your home. Regular inspections allow you to catch corrosion early on and potentially replace the anode rod before catastrophic rusting occurs.
Poor maintenance isn’t the only thing that can lead to malfunction; improper installation can also create numerous headaches for homeowners.
If a water heater isn’t installed correctly, it may lead to various issues ranging from inefficient operation to safety hazards like gas leaks for gas-powered units. An improper installation could create pressures within the tank that exceed safe levels or even cause misalignment with drain lines, leading inevitably to leaks or blockages. Therefore it’s always recommended to use professional installers with good reputations who understand manufacturer guidelines—they truly can be worth their weight in gold.
Each of these factors contributes toward a stressful situation for homeowners if left unattended, highlighting the need for vigilance and regular inspection. This proactive approach sets the stage for understanding how routine evaluations can further safeguard your investment and ensure smooth operation going forward.
Routine Maintenance Checks
Regular maintenance is essential to ensure your water heater operates efficiently and has a long lifespan. Many homeowners overlook this vital aspect, but understanding how to properly check and care for your system can save you from costly repairs down the line. Even just taking a few moments every six months can make a significant difference in the performance of your water heater.
One important aspect to start with is checking the pressure relief valve. This valve serves as an essential safety feature, preventing excessive pressure buildup inside the tank that could lead to catastrophic failures. To test it, simply lift the lever on the valve and allow it to snap back. If you observe a small burst of water flowing into the drain tube, you’re in good shape; if not, consider replacing the valve to ensure your water heater’s safety.
Meanwhile, another critical component deserving attention is the anode rod.
This sacrificial rod plays a pivotal role in protecting your tank from corrosion. It attracts corrosive elements in the water, thereby preserving the integrity of the tank itself. Inspecting this rod every three to five years is advisable; look out for signs of significant wear. If you notice more than six inches of exposed core steel wire, it’s time to put in a new one. Neglecting this simple task can result in premature rusting and damage to your tank.
As we move along, don’t forget about the venting system, especially if you have a gas water heater.
Ensuring that this system remains unobstructed is critical for safe operation. You should routinely check for blockages or debris that could hinder proper ventilation. A faulty venting system not only reduces efficiency but can also pose serious safety hazards by allowing harmful gases like carbon monoxide to enter your home.
Lastly, one process that cannot be overlooked is flushing the tank.
Flushing removes sediment buildup that can accumulate over time due to minerals in your water supply. This sediment can significantly affect heating efficiency and lead to higher energy costs. Aim to flush your tank annually by draining a few gallons of water. By doing so, you’ll maintain optimal performance and increase the lifespan of your unit—a win-win situation.
Staying proactive about routine maintenance checks not only helps extend the life of your water heater but also ensures it functions safely and efficiently throughout its lifespan.
With these essential checks covered, it’s time to explore how to properly manage the flushing process that ensures your unit runs smoothly and efficiently.
Draining and Flushing the Tank
Flushing your water heater is not only about keeping it clean; it’s about ensuring its longevity and efficiency. Over time, sediment can accumulate at the bottom of the tank—up to 1 to 2 inches after just one year! This buildup can lead to reduced heating efficiency, costing you more in energy bills and decreasing the lifespan of your unit. By making this simple task a part of your routine maintenance, you’ll help avoid more significant problems down the line.
Step-by-Step Guide
The process of draining and flushing your water heater might seem daunting, but it can be straightforward if you follow these steps carefully. First and foremost, safety is key. If you have an electric water heater, you’ll want to turn off the appropriate circuit breaker to prevent accidental electrical mishaps. For gas units, simply set the thermostat to “pilot” to keep gas flowing to the pilot light while preventing heating.
Next comes the exciting part—connecting a garden hose! Find the drain valve located at the base of your water heater, usually a small brass valve. Attach a durable hose to this valve, ensuring it fits snugly to prevent leaks. Run the other end of the hose either outside or toward a floor drain to mitigate any risk of water damage within your home.
Once you’re all set with your hose in place, it’s time to let that water flow!
Open the drain valve by turning it counterclockwise; almost instantly, you’ll hear water gushing out through the hose. Allow this process to continue until your tank is completely empty. This could take anywhere from 30 to 60 minutes depending on your specific model and its size. It’s like waiting for water to boil but worth every minute as you’re doing vital upkeep.
Once you’ve successfully emptied the tank, it’s time for a thorough flushing—this is where you really clear out any lingering sediment. While still keeping that drain valve open, turn on the cold water supply to your tank; this action will bombard any remaining debris with fresh water from your plumbing system. Keep this flowing until you notice clear water running out of the hose—this means your tank is now clean!
After flushing out those impurities, we’re almost done.
Finally, close that drain valve tightly once all sediment is cleared out and disconnect your garden hose. Don’t forget to turn back on the cold-water supply so that your tank can refill properly. Remember to only turn on power or gas again after confirming that the tank is full; failing to do so might fry those essential heating elements.
As you continue on your journey of home maintenance, it becomes crucial to examine other components related to your water heater for optimal performance and safety. This will ensure everything operates smoothly and efficiently.
Inspecting Thermostat and Connections
The thermostat is more than just a component; it’s the brain behind your water heater’s operations. When it functions correctly, it helps maintain optimal temperature ranges between 120°F to 140°F. However, when malfunctioning, it can lead to significant fluctuations that not only affect your comfort but can also drive up your utility bills.
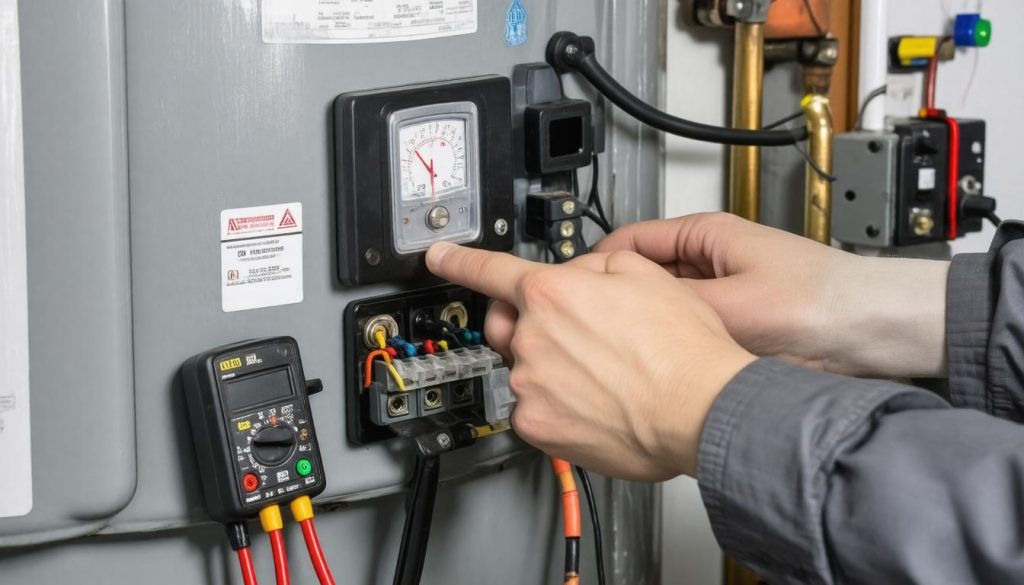
To start examining this vital piece of equipment, begin by turning off the power supply. Once you’ve ensured your safety, gently remove the thermostat cover. This is where the multimeter comes into play; using it to test for continuity can reveal whether the thermostat is functioning as intended. If you find inconsistencies in temperature regulation or hear strange noises—perhaps popping or rumbling sounds—these could indicate that it’s time for replacement.
After verifying the thermostat’s status, it’s equally essential to check the electrical connections that power your water heater.
Checking Electrical Connections
Secure electrical connections are paramount for both safety and efficiency. Start by visually inspecting all wires connected to the thermostat and any associated parts. Look for signs of wear or corrosion, which can compromise their functionality. Loose or frayed wires are not just an inconvenience; they pose serious fire hazards if left unaddressed.
Make sure each wire is snugly connected to its terminal without visible damage. It’s a good practice to ensure that voltage readings are maintained between 240V to 250V for electric units. If you notice discrepancies, like rust forming on connections or excessive heat emanating from junctions, it’s imperative to repair or replace the affected wires immediately.
For homeowners with gas units, prioritizing gas line inspections is just as essential.
Verifying Gas Connections
Gas water heaters introduce another layer of complexity concerning maintenance. Inspecting gas lines and connections becomes critical in preventing potential leaks or malfunctions. A simple method for spotting leaks involves applying a soap solution at connection points. If you observe bubbling in the solution, that’s your cue to act fast; contact FitoPlumbers immediately for a professional inspection.
Proper maintenance of gas connections ensures not just efficiency but also safety in your home environment. Ignoring these checks can have severe consequences—not just from an equipment standpoint but also in terms of household safety.
By routinely checking both thermostats and connections, you’re actively preventing future issues while maximizing your water heater’s lifespan and performance.
As you gain insights into these crucial elements of maintenance, let’s ensure that every task you undertake is done with proper precautions and awareness.
Safety Tips for Maintenance Tasks
When it comes to maintaining your water heater, the importance of safety cannot be understated. Every year, unfortunate accidents occur while homeowners conduct their own maintenance or make repairs. Taking a few simple precautions before you start can go a long way in protecting both you and your home from avoidable mishaps.
The first step is to always turn off the power supply before commencing any maintenance work. For electric heaters, you should switch off the circuit breaker, whereas, for gas-powered units, turning the gas valve to the “off” position is essential. Not doing so can subject you to the risk of electric shocks or even start a fire if gas leaks occur.
It’s best to allow some time for the unit to cool down as well—ideally waiting at least 30 minutes—so you’re not dealing with scalding water and superheated surfaces.
Once you’ve ensured that the power is off and you’ve allowed everything to cool properly, it’s time to protect yourself further with appropriate gear.
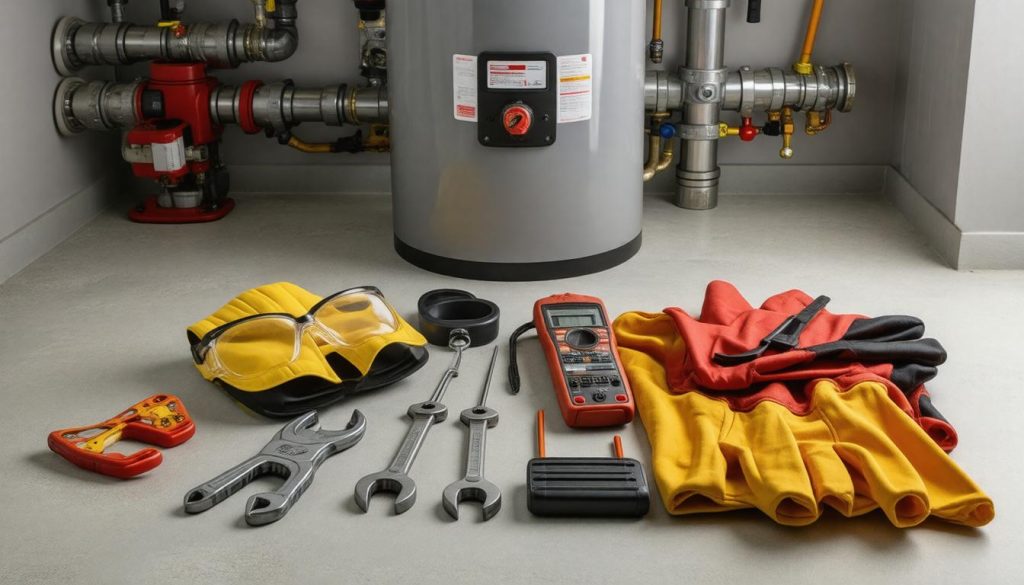
Don’t skip wearing protective gear like gloves and safety glasses. This may seem basic, but many overlook it in favor of convenience. Using insulated gloves will keep your hands safe from both heat and sharp edges while safety glasses shield your eyes from unexpected sprays or flying debris during inspections. Simple measures like this can save you from painful injuries.
Another essential consideration is to handle components carefully. If you need to work with parts such as anode rods or drain valves, handle them with caution as they are typically more fragile than they appear. You don’t want to inadvertently snap a vital component that could lead to further complications or costly repairs later.
Ultimately, some tasks are better left to professionals, especially when safety is on the line.
For larger issues—like inspecting gas lines or fixing electrical components—it is wise to hire professionals. Issues involving gas or electricity carry excessive risks that may pose dangers beyond what a homeowner should tackle alone. Trusting experts from Fitoplumbers ensures that problems are resolved effectively and safely, allowing you peace of mind.
Following these safety measures not only protects you but also enhances the overall efficiency of your water heater system. By combining these tips with regular maintenance practices, you can extend its lifespan while ensuring it operates both safely and efficiently.
To safeguard against potential damage and maintain performance, contact us today for a free estimate at Fitoplumbers.